

Supply List:
- 6x6 inch square of fabric in some pretty design
- 12x6 piece of alternate fabric, muslin
- 12' of ribbon
1 circular wood container- Two 5" craft circles, wood beads and screws
- craft glue or hot glue gun
- stuffie fluffie (Poly-Fill)
- marker, fabric marker
Fold the muslin in half and using the container lid or craft circle, trace the circumference of the circle onto the fabric.


Cut out the circles with an additional 1/4" sewing margin. You should have two circles. Using the serger or your sewing machine, hand sew the two circles together, leaving an opening for stuffing. Stuff the circle and sew up open seam. You should have a pirogie looking item in your hand... this pirogie will be the basis for the cushion of the ottoman.

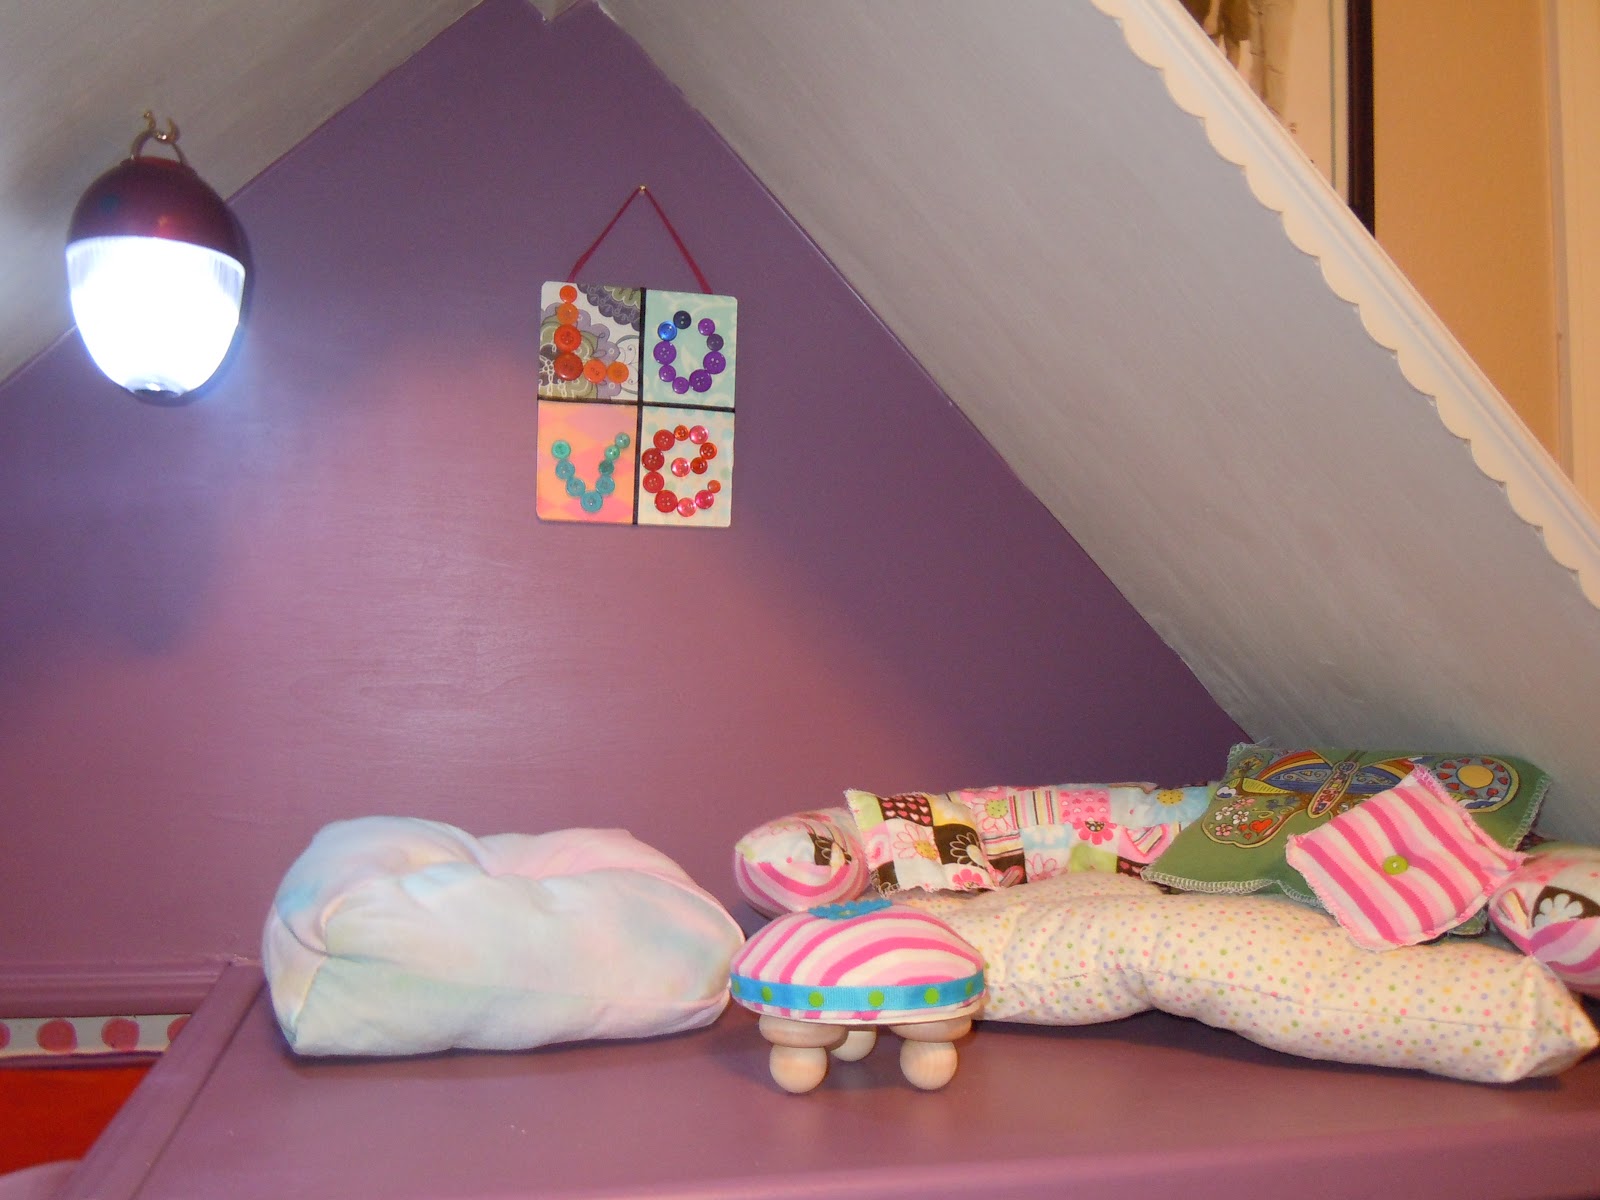
I love me some pirogie.. you don't grow up in a small, Polish town and not walk away from the experience without a love for the Pirogie!... moving on.. so you have a stuffed pirogie looking circle. Center the stuffed circle on your 6x6 inch square of pretty fabric (or in this case re-purposed tank top).


Once it is centered, grab your thread (embroidery works best), needle (darning if you are using embroidery) and proceed to create a tuft in the cushion of the ottoman. This is done by having a knot at the end of your thread and puling the thread through one side of the cushion to the other, pulling tight and then reversing and pulling the thread through the other way. After about 3 passes, you should have a nice knot of fabric centered in the cushion that creates a pucker or tuft.


Place a glop of tacky craft glue directly on the lid. Center the cushion on the lid. Press down and turn over. I totally would have used my hot glue gun but our new puppy, Tokie -- remember him he was the supervisor back in December... he chewed the cord yesterday :/


After it is turned over, begin pulling tautly the outer fabric and stapling to the under side of the lid.


In my mind, this is how I envisioned the ottoman. See how well the lid appears to fit on the container. Truthfully, this is where it all went wrong. As I was trying to squeeze the base of the container into the newly decorated lid, the base of the container started to unravel under the pressure of the lid.


I placed the remaining base into the lid and it fit perfectly.

I added ribbon to cover the staples that were peeking through the sides of the lid, another reason why using a craft circle would be better.


I did remove it to add screws later because now I had lost my muffin and was staring at a low calorie muffin top on my table. At this point, is where I decided that using two craft circles would be better. You could still pull the fabric taunt and staple onto one of the craft circles. Pre-drill your holes for the screws/legs of the ottoman, screw in your wood screws and then glue the two craft circles together and cover with ribbon


Turn the ottoman upside down so that pointed end of the screw is facing you. Drop a glop of glue on each screw and place your wood beads on top of the screws. In this case, I worked with what I had - wagon wheel type bead and a round bead. I add additional glue with each layer.


After it was all said and done, no one would know of the tragedies encountered while making this ottoman. I would like to attempt this again using the craft circles instead of the container but wanted to share where I am at and a fix... kind of like a car with a recall. If you already have some fabric laying around and poly-fill this project should cost about $2.


Pinning this -- love your comparison to a pirogie!
ReplyDeleteThank you for writing and sharing this
ReplyDelete