Showing posts with label Trash to Treasure. Show all posts

Wednesday, June 6, 2012

Stencil Painting on Sheers


The following statement may sound slightly petty... given all that us military spouses do, flex, bend, adjust to... but one of the more smaller scale frustrating  aspects of being a military spouse is the continual change of curtains.  Curtains that matched one room, are too short, too long for the next house, etc... 1500 miles away.  I found some cheap sheer curtains ($3 for two panels) off of a "classifieds" trading group where we are currently based.  I wanted something for our downstairs bathroom and didn't want to spend $60 on curtains just so that I can enjoy them for the next 14 months.  I decided to use a doily to stencil Grecian looking circles on it.  A similar pattern caught my eye during a recent trip to World Market.  I got the idea of using a doily as a stencil from a child craft blog post where you use heart shaped doilies to stencil on shirts for Valentine's Day.

--- so here it is .... on with the instructions...

Monday, April 30, 2012

Woodland Baby Shower


Here are some pics from the Woodland Baby Shower.  It was a "girl color scheme" woodland theme baby shower with a served brunch.


I used the sewing crepe paper rolls together method to make ruffled crepe paper.  It was a lot of fun and turned out well.  The "baby" banner got lost behind the gifts...


Wednesday, March 28, 2012

Opening Day Wreath

"We're all behind our baseball team... Go Get em' Detroit Tigers... Go get em' Tigers!"


I bet the women of 1968 wished they had this baseball wreath to hang up on their door! 

Thursday, March 1, 2012

Re-purposed Jean Quilt

So this isn't finished yet but I feel like I need to post something with an update.  This week has been pretty hectic.  Keith and I are celebrating our 10th Anniversary tomorrow and we are going to London to celebrate.  I have been trying to get things squared away at work, the house clean for Grammy so that she won't suffocate in dog hair when she gets here.  I finished the girls laundry to hopefully eliminate any wardrobe related tantrums during our week away.  The list of "to-dos" gets longer by the moment, locate passport, rain boots, buy an umbrella and so on...

Wednesday, February 22, 2012

Reuse Wine Corks for Food Markers

Don't have enough corks to make a beautiful wreath? 
Slice the tip and use them for food markers at a party or table assignments at a dinner party.  

I decided to use wine corks to display the "food labels" for the cheese plate and appetizers at a wine tasting.                 

What do you need for this project???  Corks, stock paper, fancy writing skills and a knife!

Here is some info on making your own labels and utilizing those corks that are laying around.  Just click here...

Friday, February 10, 2012

Dollhouse Unveiled

Hopefully, you have enjoyed following the progress of the dollhouse made out of an old entertainment center. In case you are visiting my blog for the first time and want to see how the various pieces of the house were made, feel free to click on the embedded links that I have provided within the key words and it will take you to that specific blog entry in a new window.  Happy Reading!


Pin It


Thursday, February 9, 2012

Pinterest gets Miniatured

I love Pinterest!  Who doesn't?  Even those who hop on once and don't see the benefit usually come around when it is time to plan a party, decorate for a holiday and the list goes on...


Dollhouse Ottoman

I created an ottoman for the dollhouse.  Before I begin, let me just say this was one of those projects where half way through it, you totally think of a much better way to go about it and end up with something different than you think... SO... that in mind.  I am going to tell you what I did... but I think you should not walk in my original shoes... follow alternate suggestions.

Monday, February 6, 2012

Re-purposing Old Shirts

As mentioned in the couch post, old clothing that is too used for a proper donation to goodwill can be re-used for other projects.  Think green before you send too small, too worn clothing into the garbage can.

Doll Couch - Adventures in Crafting

There is a reason why the description of this blog is .." an adventure in crafting".. versus "expert advice in crafting."

Saturday, February 4, 2012

Dollhouse Bathroom Sink

I bought this cute bathroom tub set from Target - it is part of the "Our Generation" collection- retails for about $20.   It came with a bunch of little pieces that will likely get lost as soon as I move the house into the play room.  I decided to use the colors on the tub as a basis for the patterns on the bathroom walls, color scheme.  Although, you can't tell well, the tub is really a lighter version of the Boysenberry house color and looks great against an orange back drop of which was one of the colors on the bins that I am using as the overall color pallet for the house.   

The set came with a toothbrush and toothpaste but where were Molly and Julie going to brush their teeth at?  

So I set off to make a bathroom vanity.  I had a couple of failed attempts....  :/

I tried to construct one out of repurposed wood with moving cabinet doors but it was a little (ok a lot ) wonky and too short.  That led to trying to have the the sink just hover in the corner and it was too strange and too small.  

I came up with this.  Techinically, it is still a hovering vanity but much larger with "storage curtains."  This same vanity could be easily created as a stand alone vanity by adding four additional 1x1 boarding cut to size for table legs.
Supply List: 
  • 8" piece of 1x3
  • 4 pieces of 1x1 cut at 8.5" (for stand alone vanity)
  • craft board cut or balsam wood board 8.5"x4"
  • drill or nail setter
  • 6 small screws
  • 4 tack nails
  • Two pieces of 3/8x1.5 craft board (found at Lowes) cut at 3.25"
  • One piece of 3/8x1.5 craft board (found at Lowes) cut at 7.25" 
  • small hacksaw
  • clothing wall hook (this becomes the faucet upside down)
  • 2 1/8" Cup Pull (found at Lowes in the door handle area..LOL) this becomes the actual sink
  • fabric of your choice 7"x40" 
  • Paint in a satin finish or craft paint and clear coat
  • measuring tape/ruler
  • wood glue
  • hot glue gun
  • clamp 
  • sander, sandpaper
  • two 1" wood screws


Creating the counter top.  
In order to repurpose some wood from the failed vanity attempt, I used two pieces of wood that when put together were the aproximate size of a 1x3 that I am suggesting you use.  The thin craft board was glued and tacked onto it.  This created a strong platform and a smooth counter top surface for the sink area.

I painted the newly built counter top the matching boysenberry.
While I waited for the paint to dry, I re-installed the clothing hook, upside down on the side wall of the bathroom.  If you are making a stand alone sink, you could  add an additional pieces of craft board to the counter top and create a splashboard to hang the "faucet" on.  I also hung a small cup hook on the other side of the bathroom for the dolls to hang their bathrobes on.


________________________________________________
Making the storage covers.  I chose a striped fabric that highlighted the colors found in the house and on the bathtub.  You will need a piece of fabric that is 7" wide and a minimum of 40" long so that you can create four 10" panels that are 4" wide.  If you are making a stand alone vanity, you may want to consider making an additional panel for the back side of the vanity or using another craft board to close up the back.


I measured, prepped and using my Serger cut 4 panels that were 10x4"


The end result was four panels that were ready to be installed.   Using my trust glue gun, I applied glue and placed two panels on the front and a panel on each side.  Place these half way down the underside board so that when you install the outside wood panels the fabric and glue won't be in the way of screws/drill holes.


Installing the outer wood panels

Grab the hacksaw, drill with a tiny drill bit, 1.5"x3/8"x2' craft board and began plans to make the wood panels.  

I measured and cut the wood.  Using the small hand saw, I cut the craft wood at the proper length for each panel.  Pre-drilled the screw holes to ease placement.
At this point my camera died and I had to switch to taking pictures with my phone so I apologize for the quality.


After creating the drill holes, place your tiny screws in each hole and screw them in.  I put 2 screws even spaced on each side on the upper half of the supporting board.  After the screws were in place and everything secured, I lightly sanded the edges to remove any potential splinters.  I painted the newly built lower outside panel to match the counter top.  I thought about painting it pink but decided to play it safe with the boysenberry
After the paint dried, I set out to complete the final installation of the newly built vanity.  I drilled two starter holes in the counter, partially screwed in the two large wood screws and called my husband for help.. LOL... I just didn't have the hand strength to screw it in to the wood framing of the dollhouse.


After it was in place, I used the hot glue to secure the cap pull.  I was really pleased with the outcome of this design on the fly vanity!


Now the bathroom is complete!


Wednesday, February 1, 2012

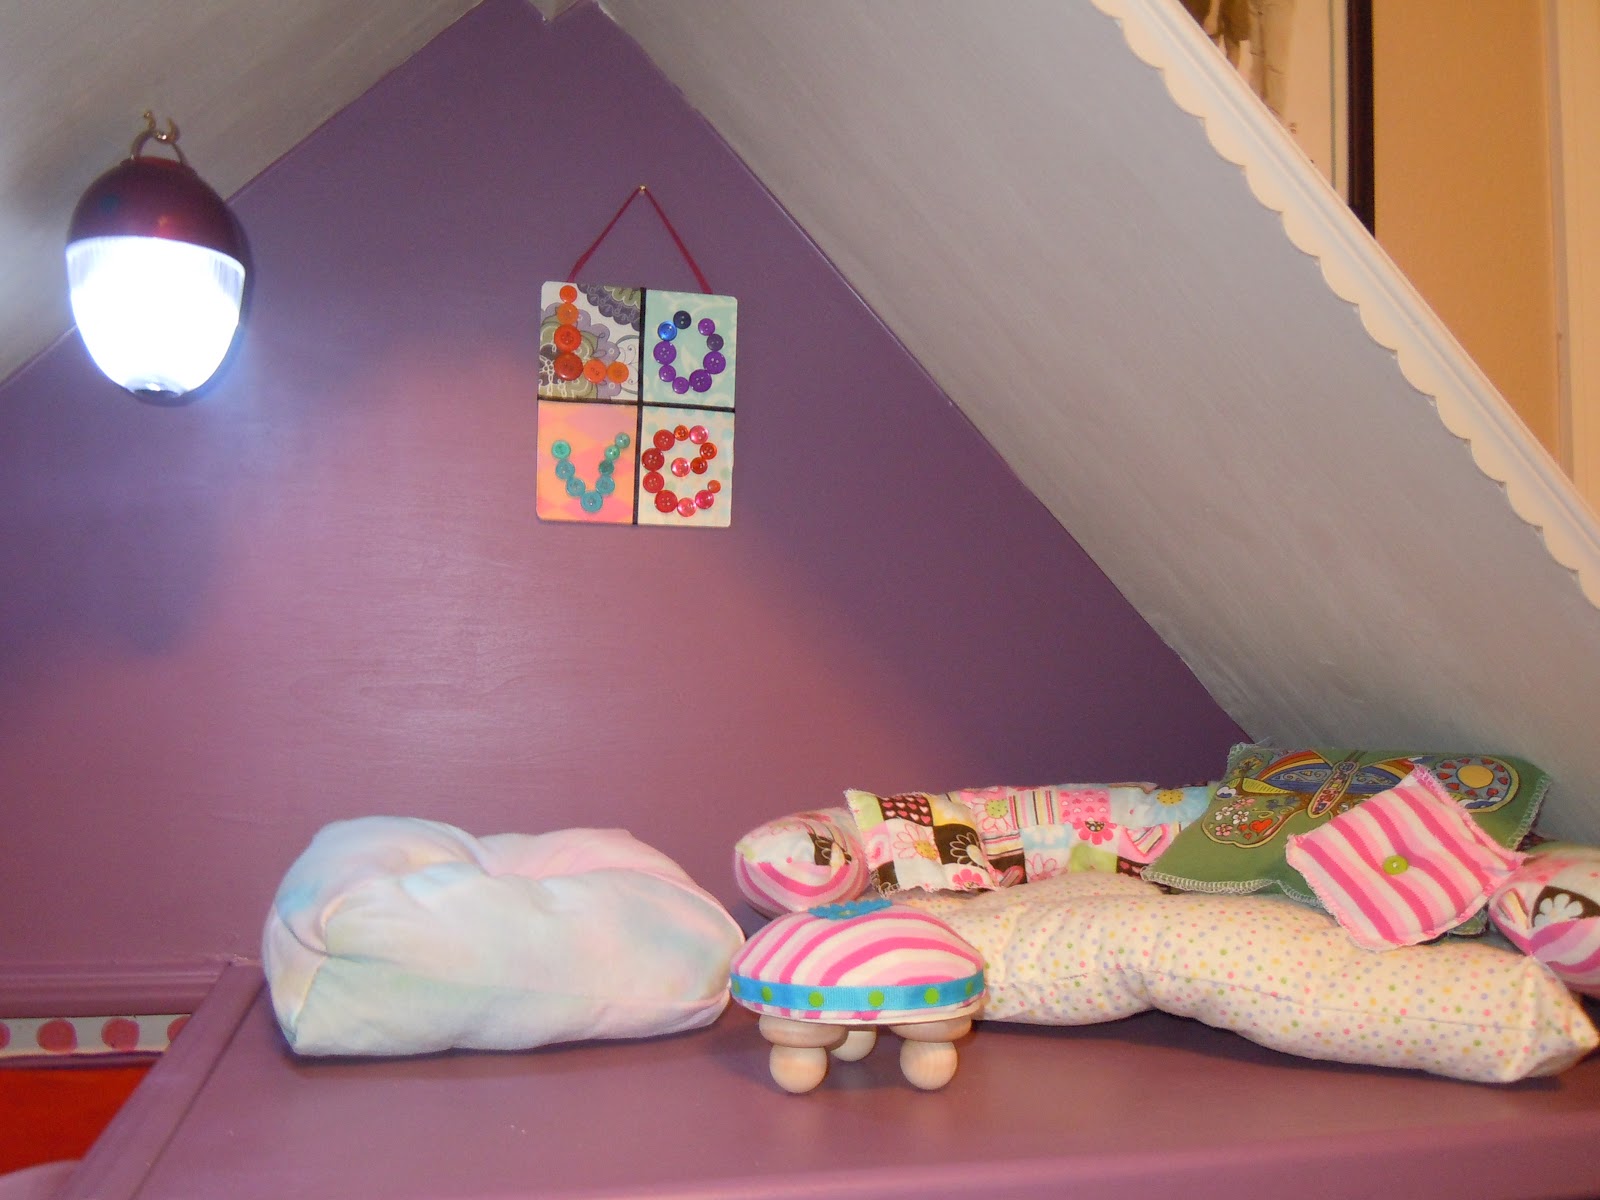
An American Girl Doll Bedroom

Kitchen Wall Art - Dollhouse


I have a large fork on my kitchen wall...   So naturally I needed to make one for the dollhouse kitchen.  I just finished this today.

What you need for this project: 
  • scrapbook rub-on embellishment - in this case a kitchen set
  • exact-o-knife or very strong hands
  • 2 pieces of balsam wood 12"
  • coordinating paint with your project


Using the exact-o-knife I scored each piece of balsam wood at the 8" point.  From there, I snapped them at the newly cut point.  I painted the wood a coordinating blue to match some of the other colors that will have come out in the dollhouse.  I hot glued them to the wall.  I would recommend using a balance to make sure the first piece is even.  After the gluing your new "frame" paint the inside a matching color, wait for the paint to dry, rub on your embellishment and if you like add a clear coat!


Friday, January 27, 2012

Kitchen Furniture - Dollhouse


Where we left off...  I just finished up the walls and the floor.  The room was looking a little empty.


I ended up making a table, chairs, turned a miniature dollhouse side board upside down for a kitchen cabinet, touched up the window and made some artwork...


So it started like this... I looked at my "master plan" and I poured out my junk craft bin... and started scrounging around!


I repurposed a candle stick, wood glued on a oval plaque from Michaels and painted it the same red as the front door.  I added clearcoat satin finish over the red paint to get rid of the dull color also to avoid it scuffing the other paint in the dollhouse during future play.  I think I will let the kids play with my... I mean .. their dollhouse...
I bought a sideboard.. some type of miniature cabinet looking thing at JoAnn's or Hobby Lobby.  Painted it Hunter Green to match the floor and Granny Smith Apply for the door fronts.  I ended up snapping off the cute handles and hanging it upside down for a ceiling cabinet.
I took the triangle sides from a DIY kiddie craft kit that I never made, that was given to us by someone who never made it  (maybe a smaller point in this is never my the kiddie craft crate) and decided to turn them into the chair backs.  I bought some square 4" plaques from Michael's for $1.  I drilled holes in them and added the shaker pegs for the chair legs.
The end result...$12 for a table, two chairs and kitchen cabinet... 

Tuesday, January 24, 2012

Dollhouse Kitchen - let's get it started!

I decided to go with Granny Smith Apple Green for the kitchen walls.  I needed something to brighten up the big space, offset the boysenberry but still match the green of the front grass.  So here is where I started.

The pic is a little bad.  I need to remember to use my regular camera instead of my phone.


The outcome didn't look terribly bad but I felt like it was missing something  and a little too plain.  If I wanted plain I would have bought a plastic house that came in 3 shades of pink.  I am on a mission to create an heirloom here... to give my girls what I never could have dreamed of having... something that my 8 year old wont be tempted to crayon blue on... so I had to spice it up... Pulling from the days of "Trading Spaces" when two neighbors actually traded a space... I went with the following...
...a striped sheen on the Granny Smith Apple green for the back wall.  I did this by using a single stroke of clearcoat.  Since up to this point I have used the "I am not great at painting" approach... I didn't tape it.  I made it look purposefully quaint.  

I painted the kitchen floor the matching hunter green, made square brush strokes of White Linen.  That was a little too bright.  I created a glaze from the granny smith apple green and the satin clearcoat to tone things down a bit.  I painted the side walls White Linen to make the newly striped wall a back focus.  

I will have a window on the right side of the room.  I think the end effect is nice.  Looks a little empty right now.  

I finally get to utilize my original master engineering sheet and start building....

Tuesday, January 10, 2012

Dollhouse Facelift


I struggled with the track doors what to do with them.  I knew I wanted to keep it.  How cool would that be to have a doll house that actually closes up.  Perfect for moving it around... the darn thing is on casters as well.  The casters and closing doors, plus the free delivery and cheap price is what made this entertainment center the one!  So I started drawing...

this is where we left off...  .  I had sketched out a rough front door scene and finalized my sketchings in the white paint.  I had put on the boysenbarney and hoped for a second coat to be the trick instead of lots of primer and new paint.  It worked.   The dollhouse was officially "Boysenberry" and "White Linen"


I went with a red door to make the color pop and to pull from the red in the bins.  I also have some prelimary plans to make the lower bedroom to the left red, pink and blue... kind of a new twist on Americana but not star spangled banner themed room


After painting the door, I added a coral orange window box and pot.  Shaded in the window with a sage green/gray color and framed out the window and door in the same White Linen color as the roof.


I am stoked about how this turned out!  I further framed the window door by imperfectly adding touches of black.  I added a little foliage (Bob Ross would of have been proud).  I finished off the front yard with a picket fence.  Every perfect house needs a perfect little picket fence!  I sponged some darker green on the hunter green shown to look like grass or shag because that little green area will also double function as a family room in the weeks to come!